Creating a DocSearch frontend solution
Keep the crawler. Rewrite the search interface.
· 8 min read
DocSearch is a project launched by Algolia as a community gift for Christmas 2015. It is a free service offered to documentation websites. It scrapes your website with a crawler, indexes searchable content on Algolia, and provides a frontend library to search through that content. It is used on many websites, including React, Vue, Bootstrap, jQuery, and Babel.
As I work at Algolia, I wanted to see if this service would be compatible with a blog-style website. DocSearch provides a search-as-you-type JavaScript frontend called DocSearch.js. Although this solution works great, its bundle size remains very high, which can add overhead to your website bundle (as of version 2.6.2).
This article is about taking control of your DocSearch frontend rendering, whether you use vanilla JavaScript, React, or any other ecosystem. You can check the live example on CodeSandbox.
How DocSearch works
DocSearch is split into two subprojects that bring search to your website: the crawler and the frontend library.
Crawler: indexing data
The crawler scrapes the webpage and indexes the records on Algolia. It is driven by configuration files for each website. These files indicate how DocSearch should read the website and which content to index.
Every day, the crawler re-indexes all the pages into the Algolia index dedicated to DocSearch (the application called BH4D9OD16A). When you're eligible for DocSearch, you're given a search API key and an index name where your content is hosted.
Frontend library: searching content
Once the information is available on Algolia servers, we offer DocSearch.js to facilitate the frontend implementation.
This JavaScript library uses the Algolia JavaScript client to send API requests to Algolia on the DocSearch application. This client is officially supported by Algolia and provides caching, a retry strategy, and lots of safety features. The UI is made with Autocomplete.js to get results at each keystroke.
The actual DocSearch source code formats the records received from Algolia to make them easier to interact with before passing them to the templates.
Creating your DocSearch frontend
Querying the index
Let's create a search service that queries Algolia. We first need to create a file search.service.js and import the JavaScript search client: algoliasearch.
import algoliasearch from 'algoliasearch/lite';Note that we import the lite version of the JavaScript search client. This imports only the search functionality, not indexing, which is already handled by the DocSearch crawler.
Now, we can create a createSearchService function that instantiates a search client based on Algolia credentials (these are given to you when you apply to DocSearch).
function createSearchService({ appId, apiKey, indexName }) {
  const searchClient = algoliasearch(appId, apiKey);
  const index = searchClient.initIndex(indexName);

  // ...
}

export { createSearchService };
We're going to use the observer pattern to notify our soon-to-be renderer of any changes that happen while the search proceeds.
The search service will return an object with two methods:
subscribe(listener: () => void): () => void. Registers a listener that gets notified of any changes in the lifecycle of the search. It returns a function to unsubscribe the listener to avoid memory leaks.search(query: string). Sends the request to Algolia via the search client and notifies the subscriber of any changes.
function createSearchService({ appId, apiKey, indexName }) {
  // ...

  let subscriber = null;

  return {
    subscribe(listener) {
      subscriber = listener;

      return () => {
        subscriber = null;
      };
    },
    search(query) {
      // ...
    },
  };
}
The service is now ready to manage a subscriber. Let's plug the search client.
function createSearchService({ appId, apiKey, indexName }) {
  // ...

  return {
    // ...
    search(query) {
      // Let's not send a useless request if the query is empty.
      if (!query) {
        subscriber({
          isLoading: false,
          error: null,
          results: {},
        });
        return;
      }

      // The search has started, let's enter a loading state.
      subscriber((previousState) => ({
        ...previousState,
        isLoading: true,
      }));

      return index
        .search({
          query,
          hitsPerPage: 5,
          highlightPreTag: '<mark>',
          highlightPostTag: '</mark>',
        })
        .then((results) => {
          // Let's update the results!
          subscriber({
            isLoading: false,
            error: null,
            results: results.hits,
          });
        })
        .catch((error) => {
          // Huh! An error was thrown by the search client.
          subscriber({
            isLoading: false,
            error: error.name,
            results: {},
          });

          throw error;
        });
    },
  };
}
I override the default
emtag withmark, which fits better in the context of search results.
DocSearch sets the number of hits per page to 5 by default. We think that, in this context, hits after the 5th aren't relevant anymore.
That's everything we need to fetch the search results. However, the results are formatted in a way that is not simple to parse. Let's create a formatter to make this easier.
Formatting the results
Indices hosted on the DocSearch application all follow the same data structure.
{
  "hierarchy": {
    "lvl0": "Building a resume with React and Sketch",
    "lvl1": null,
    "lvl2": null,
    "lvl3": null,
    "lvl4": null,
    "lvl5": null,
    "lvl6": null
  },
  "url": "https://francoischalifour.com/react-sketchapp-resume/",
  "content": "[...]",
  "anchor": "",
  "objectID": "7862547390",
  "_snippetResult": {
    "content": {
      "value": "computed with React and the rendering is processed by <em>Sketch</em>",
      "matchLevel": "full"
    }
  },
  "_highlightResult": {
    "hierarchy": {
      "lvl0": {
        "value": "Building a resume with React and <em>Sketch</em>",
        "matchLevel": "full",
        "fullyHighlighted": false,
        "matchedWords": ["sketch"]
      }
    },
    "content": {
      "value": "[...] the rendering is processed by <em>Sketch</em>",
      "matchLevel": "full",
      "fullyHighlighted": false,
      "matchedWords": ["sketch"]
    }
  }
}This structure is quite hard to interact with without any transformations. You're free to create your own transformer to simplify the data passed to the renderer. You can find the official DocSearch transformer in the repo.
On my website, I decided to go with this structure:
{
  "How it works": [
    {
      "objectID": "7862547440",
      "categories": [
        "Building a resume with React and <em>Sketch</em>",
        "How it works"
      ],
      "excerpt": "…react-<em>sketch</em>app is a library that serves as a bridge…",
      "url": "/react-sketchapp-resume/#how-it-works"
    }
  ]
  // ...
}
Now, back to our search service, we can call the formatter before giving the results to the subscriber:
import { formatHits } from './search.utils'

function createSearchService({ appId, apiKey, indexName }) {
  // ...

  return {
    // ...
    search(query) {
      return index
        .search({
          query,
          hitsPerPage: 5,
          highlightPreTag: '<mark>',
          highlightPostTag: '</mark>',
        })
        .then((results) => {
          subscriber({
            isLoading: false,
            error: null,
            results: formatHits(results.hits),
          })
        })
      // ...
    },
  }
}
Everything is set up correctly, let's render the results!
Rendering the results
The rest of this example will use React to build the user interface. Let's create a SearchBox component that accepts a search service as a prop (this will use the createSearchService we implemented).
const SearchBox = ({ searchService }) => {
  const [searchState, setSearchState] = useState({
    isLoading: false,
    error: null,
    results: {},
  });

  useEffect(() => {
    const unsubscribe = searchService.subscribe(setSearchState);

    return () => unsubscribe();
  }, [searchService]);

  return null;
};
You can see that the state structure is similar to the service that we created: isLoading, error, and results. We use an effect to perform a side effect in the function: subscribing setSearchState to the search service observer. When the SearchBox component unmounts, we clean up the effect by returning a function that calls our unsubscribe method.
We don't want this effect to be re-run on each render, only when the search service changes. Thus, we added [searchService] as the second parameter of useEffect.
Now, let's create the autocomplete experience using Downshift.
const SearchBox = ({ searchService }) => {
// ...
return (
<Downshift initialHighlightedIndex={0}>
{({ inputValue, isOpen }) => (
<>
<form action="" role="search" noValidate>
<input
placeholder="Search..."
type="search"
autoComplete="off"
autoCorrect="off"
autoCapitalize="off"
spellCheck="false"
onChange={(event) => {
searchService.search(event.target.value)
}}
/>
</form>
{isOpen && Boolean(inputValue) && (
<SearchBoxState
results={searchState.results}
error={searchState.error}
isLoading={searchState.isLoading}
/>
)}
</>
)}
</Downshift>
)
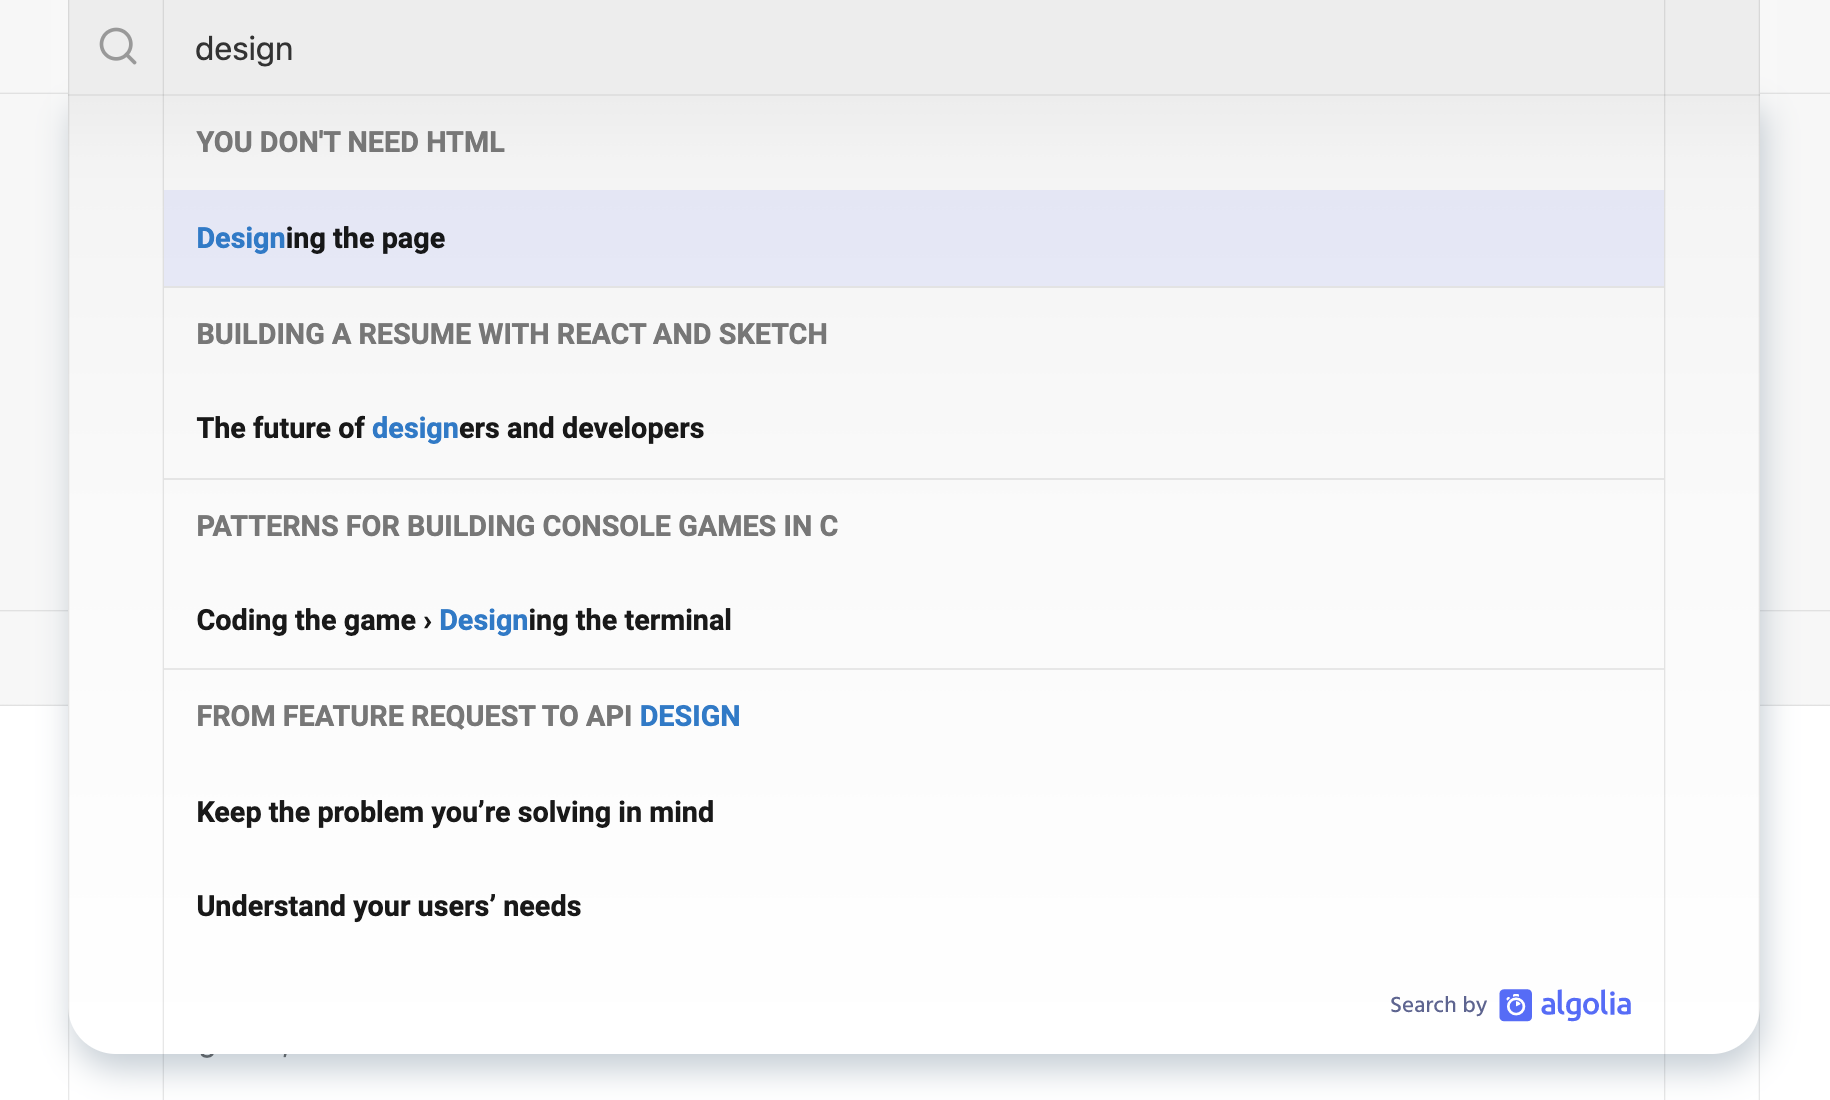
}This code is simplified; I'll leave it to you to create your SearchBoxState component where the rendering depends on the loading and error states. Don't forget to add the required "Search by Algolia" logo somewhere in your UI.
The final step is to add the SearchBox component to your page.
import { createSearchService } from './search.service';
import SearchBox from './SearchBox';

const searchService = createSearchService({
  appId: process.env.DOCSEARCH_APP_ID,
  apiKey: process.env.DOCSEARCH_API_KEY,
  indexName: process.env.DOCSEARCH_INDEX_NAME,
});

function App() {
  return (
    <div>
      <h1>My app</h1>

      <SearchBox searchService={searchService} />
    </div>
  );
}

export default App;
Conclusion
There you have it: a minimal DocSearch frontend solution. You're fully in control of the requested data and the rendering of the results.
You can try the live example on CodeSandbox.